Core Protect is a data logging tool that logs changes made to blocks and inventories in the world. This is the primary tool used on the CapeCraft server for combatting griefers and trolls. With it a staff member can find proof that a user caused an event or broke a rule as well as return the world to the state it had before.
We are going to start with the basics of how CoreProtect works and then go into detail on how to handle specific situations.
CoreProtect is always logging block and inventory changes across the server, whether it comes from a player or entity. Staff members of a server can access CoreProtect’s CoreInspect mode using ./co i. When in inspection mode right and left click will perform a lookup on that block position. Punching a block (left click) will lookup the block you punched, right clicking on a block will perform a lookup on the face you clicked on, essentially acting as if you had placed a block. I would recommend testing this out on a server to see what it’s like, getting comfortable with direct location lookups is the basis for the rest of the plugin.
This is generally what you use to narrow down information to use later. Things like usernames and time. Checking every block in a grief would be far too time consuming.
Now this is where it starts to get complicated. CoreProtect has another mode used to perform a search, lookup mode. This allows you to define parameters by which the search will be done. You can find a list of the parameters to use here. The parameters help limit the search results by area, username, or action. This is generally used for proof gathering as well as verification of damage.
To use the lookup mode you can use the command ./co lookup <parameters> or ./co l <parameters>. For the command to work you need to give it the parameters needed for your lookup, such as ./co l u:mov51 a:+block r:5 t:12h.
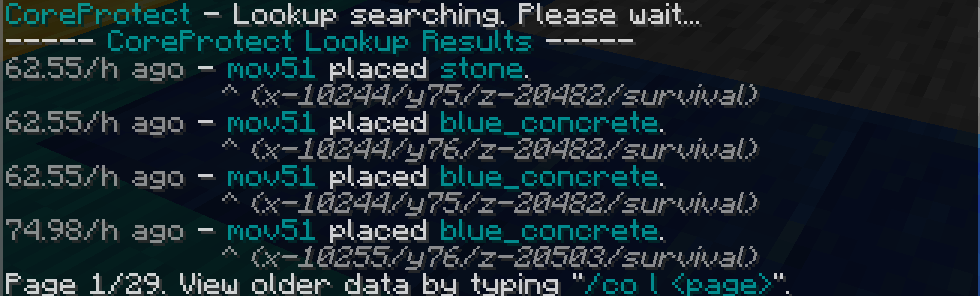
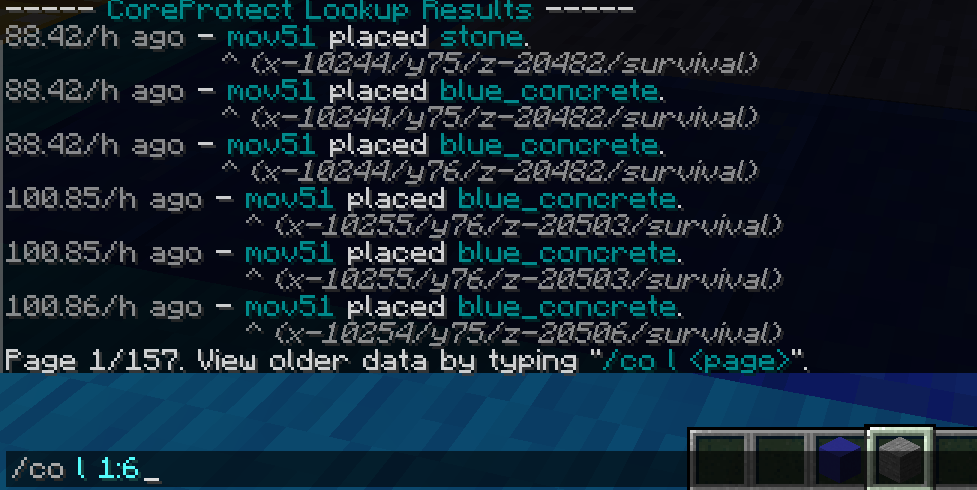
Once you have started a lookup you will see a response in chat similar to image 2. By default CoreProtect displays 4 lines of changes and then will split the remainder up into equal sized pages. To navigate to a page number run the command ./co l <page number>. The amount of lines displayed can be changed by adding a colon after the page number and then the amount of lines you want to show. (image 3)
Once you have narrowed down your search with ./co l you can roll back the damage. It’s as simple as replacing the l or lookup in your command with rb or rollback. It will rollback all of the changes it showed in lookup mode.